Buildable Area
The buildable area defines legal locations to place turbines. If you want to later optimise your farm you will need to define the Buildable Area.
This can be done either drawing on the map or importing polygons using ESRI shape files (*.SHP).
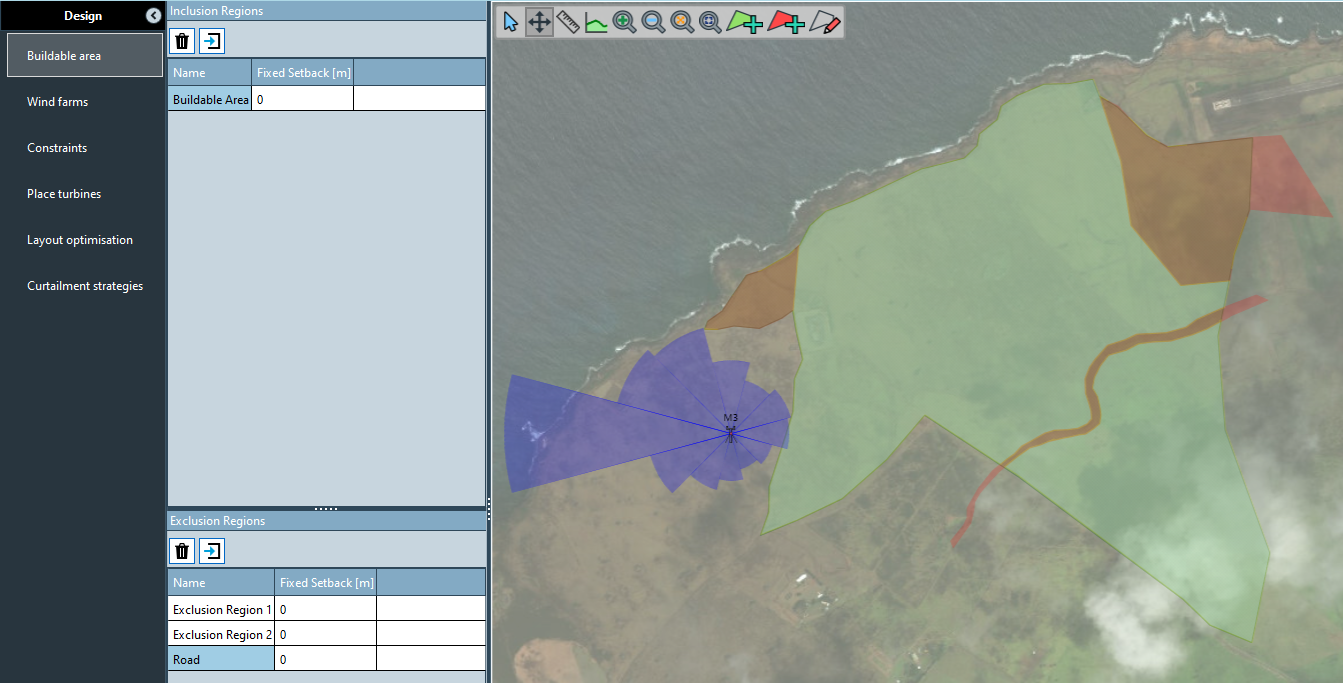
The resulting buildable area can be shown by hiding inclusion and exclusion areas from the map layers in the layer manager. It is defined by the inclusion regions minus the exclusion regions.
Tip
If you intend to optimise a layout, there must be gridded wind flow data available across the entire buildable area at the hub height of the turbine type to be used in optimisation. Go back to Flow > Flow model setup and calculate or import a grid covering the area if required.
Draw buildable area regions on the map
To define the buildable area within WindFarmer: Analyst draw at least one inclusion region.
- Select the inclusion region tool from the map toolbar.

Left click on the map to add points to form a polygon.
Finish the polygon by clicking on the first point you clicked (the larger circle). You can also double-click on the last point to quickly finish a polygon.
The inclusion region appears in the table on the left.
Exclusion regions can be added in the same way with the exclusion region tool.
Defining buildable area with shape files
WindFarmer can import data in the form of ESRI Shapefiles to define inclusion or exclusion regions. Shapefiles are a very flexible data format, however, and if care is not taken in their preparation, they can become awkward and time consuming to process.
At least two shapefiles are usually used to describe the buildable area:
- One shapefile containing the site limits – the inclusion regions that define the boundary within which turbines must be placed.
- One or more shapefiles containing the exclusion areas, within which turbines must NOT be placed.
Import a .SHP shape file by clicking import above either the inclusion or exclusion region table.
The following sections are intended to give guidance to both GIS analysts who generate shapefiles, and WindFarmer users who read them. It describes a way of working which will make the passage of data from GIS to WindFarmer straightforward and manageable.
Shape file general information
Attributes
In general, WindFarmer will not read any attribute information contained in shapefiles. There are two exceptions to this: name, and elevation.
Name attribute
If an object has the attribute ‘name’, then when it is loaded into WindFarmer the object will be labelled with the same name.
Elevation attributes for terrain contours
Line objects representing terrain contours should be given an attribute to describe the elevation. If this attribute is called either ‘ELEVATION’, ‘CONTOUR’, ‘HEIGHT’, or ‘ALTITUDE’, then it will be correctly interpreted by WindFarmer.
Metadata files
A ‘shapefile’ is a collection of at least 3 files, all with the same name but different extensions:
- Filename.shp
- Filename.shx
- Filename.dbf
These three files should be kept together in the same directory. The *.SHP file should be selected when loading these files into WindFarmer.
WindFarmer is also capable of interpreting the metadata file:
- Filename.prj
This file, which is not essential, contains the definition of the map projection which is used by the shapefile. If it is present, WindFarmer will transform the shapefile data into the workbook co-ordinate system automatically.
Polygon Holes, Islands and Doughnuts
Shapefile polygons support the concept of ‘holes’. These are also known as ‘islands’ or ‘doughnuts’, and are shown in the diagram below:
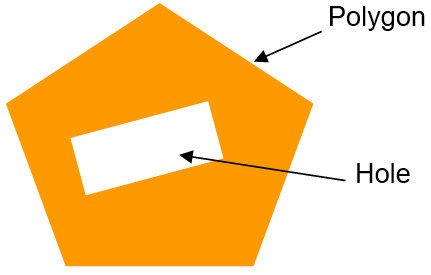
You may choose to import a single more complex inclusion shape file containing holes instead of a second shape file containing exclusions. WindFarmer is capable of reading polygons which contain holes. On importing an inclusion shape file containing holes we generate exclusion regions for each hole.
Self-intersecting boundaries
Boundaries that intersect themselves are not supported in WindFarmer Analyst and will be coloured as in the following image.
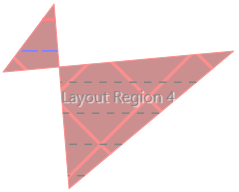
This can be obvious, (e.g. in the image above) or this can sometimes happen when importing boudaries and there are two points in exactly the same location, or rounding errors could have crept in during the import.
To fix this:
If it is clear where the self-intersection is ocurring, edit the region and move the boundary points so that it is no longer self-intersecting.
If it isn't clear where it is self-intersecting you can simplify the boundary which will get rid of any tiny or zero-length edges that may be causing the problem:
- Select the 'Edit Boundary' map tool from the map toolbar:

Select the boundary you wish to simplify. Right-click on the boundary and choose Simplify Line from the popup menu:
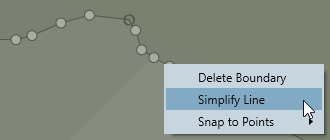
This reduces the number of points of the boundary (in a controlled way to not lose too much definition) and should hopefully resolve your problem.
Suitable GIS software
Many GIS software packages exist with the necessary tools to prepare shapefiles for use with WindFarmer. This includes ArcView, Global Mapper (version 12 onwards) and the free, open source, Quantum GIS.
Inclusion region shape files
Overlapping regions
Imagine a site which is composed of four neighbouring fields. Their boundaries have been inaccurately defined so that they overlap slightly:
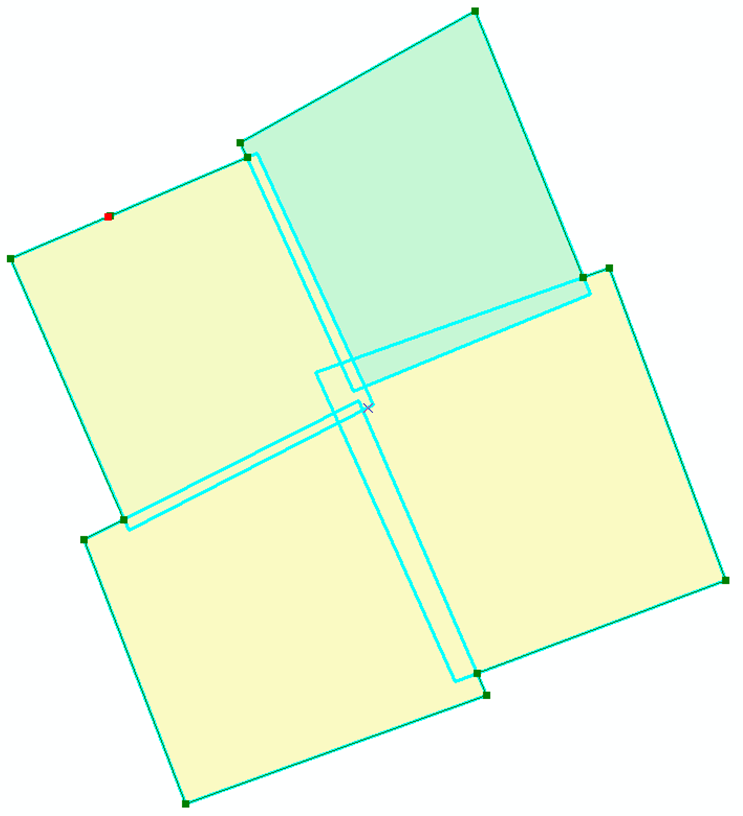
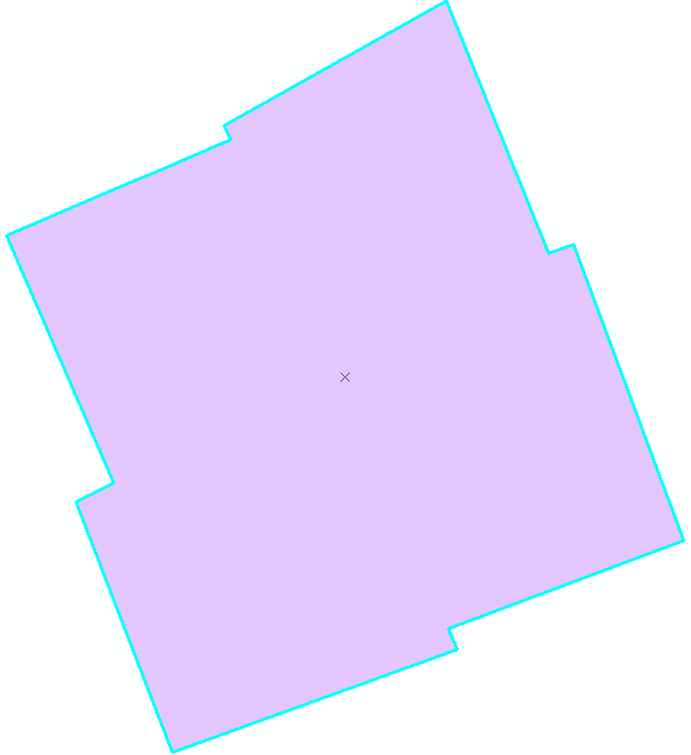
To avoid overlapping polygons in the exported file, use GIS functions such as Union, Aggregate and Dissolve, to merge these four polygons to a single one:
Setbacks
It is frequently a requirement that turbines are set back a certain distance from the edges of an inclusion region representing the site boundary, for example to ensure that rotor blades will not overhang the boundary.
If required, a fixed setback in metres can be applied to an inclusion region polygon in the Buildable Area task, reducing its size.
Point reduction
Shapefiles are typically generated by GIS programs with an extremely high level of detail. Curved areas of a complex polygon edge may be represented by several thousand points. This volume of data can be too large for WindFarmer to import and use efficiently.
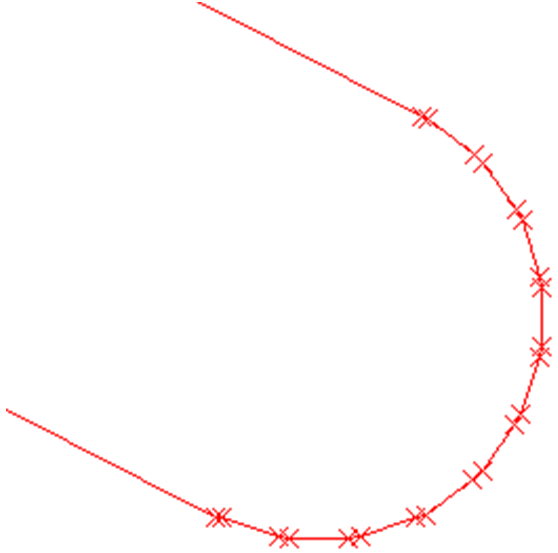
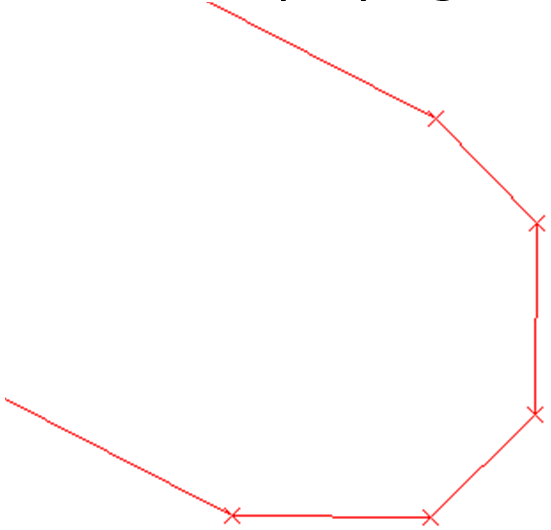
To avoid this problem, when generating a shapefile, the number of points on curves should be reduced by using functions such as Generalise and Simplify. A tolerance of around 0.5 to 1m should produce satisfactory results without adversely affecting the quality of finished work. Care should be taken to ensure that this operation does not cause holes within a polygon to overlap its edge.
The exclusion regions shapefile
The exclusion area shapefile is used to define the areas where turbines cannot be placed. Each area should be defined with a polygon – when loaded in, WindFarmer will convert the perimeters of these polygons into boundaries which exclude turbines.
There may be many reasons for exclusion areas – water, forests, housing, roads, telecommunication links and so on. It is recommended that a separate shapefile is used for each type of exclusion. This will allow maximum flexibility when the data is loaded into WindFarmer.
It is not a problem for these exclusion polygons to overlap.
Point and line objects for exclusion areas
Shape files for creating exclusion regions should only contain polygons, not lines or points.
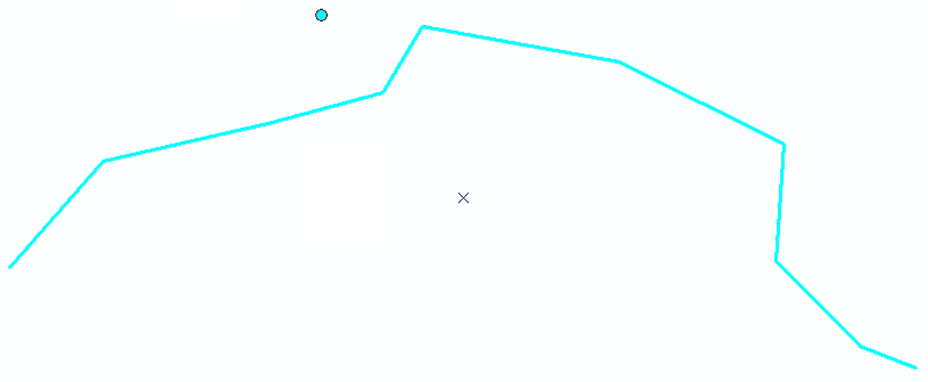
Line or point objects (for example telecom links, footpaths, houses etc.) should be converted into polygons in the GIS by applying an appropriate buffer (at least 1m).
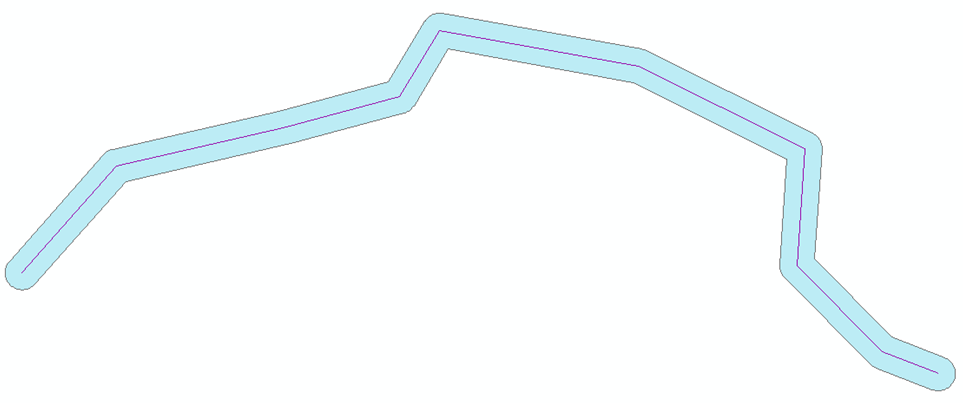
Setbacks
It is frequently a requirement that turbines are set back a certain distance from an exclusion boundary, for example to ensure that rotor blades will not overhang the boundary. If required, a fixed setback in metres can be applied to an exclusion region polygon in the Buildable Area task, increasing its size.
Point reduction
When generating this shapefile, you should reduce the number of points on curves, as described above. It may also be appropriate to remove very small polygons of only a few square metres, if they exist. If you are working in a region which contains many small polygons, it may be useful to aggregate them into fewer, larger, polygons.
Cropping
Exclusion areas are often defined using data sets which cover very large areas, such as an entire country. The data should be cropped to an area slightly larger than the site before exporting the shapefile.